DO YOU KNOW about the concept of repotting your plants? Repotting is the process of moving your plants into new pots or containers, with the most common reason to give your plant a large space to grow. If you don’t, the roots of your plant may become too crowded and compacted. Without enough space for the roots, your plant will experienced stunted growth and may die.

So when should you repot your plants? Here are the tell-tale signs:
- Plants that are straggly, pale, or have stopped growing.
- Water runs immediately out the bottom without soaking into the soil.
- Top heavy plants that keep falling over.
- Pots without drainage holes in the bottom.
- Roots that poke out of the soil or the holes in the bottom of the pot.
- Thick roots that are coiled tightly in a circle (gently remove plant from pot to inspect).
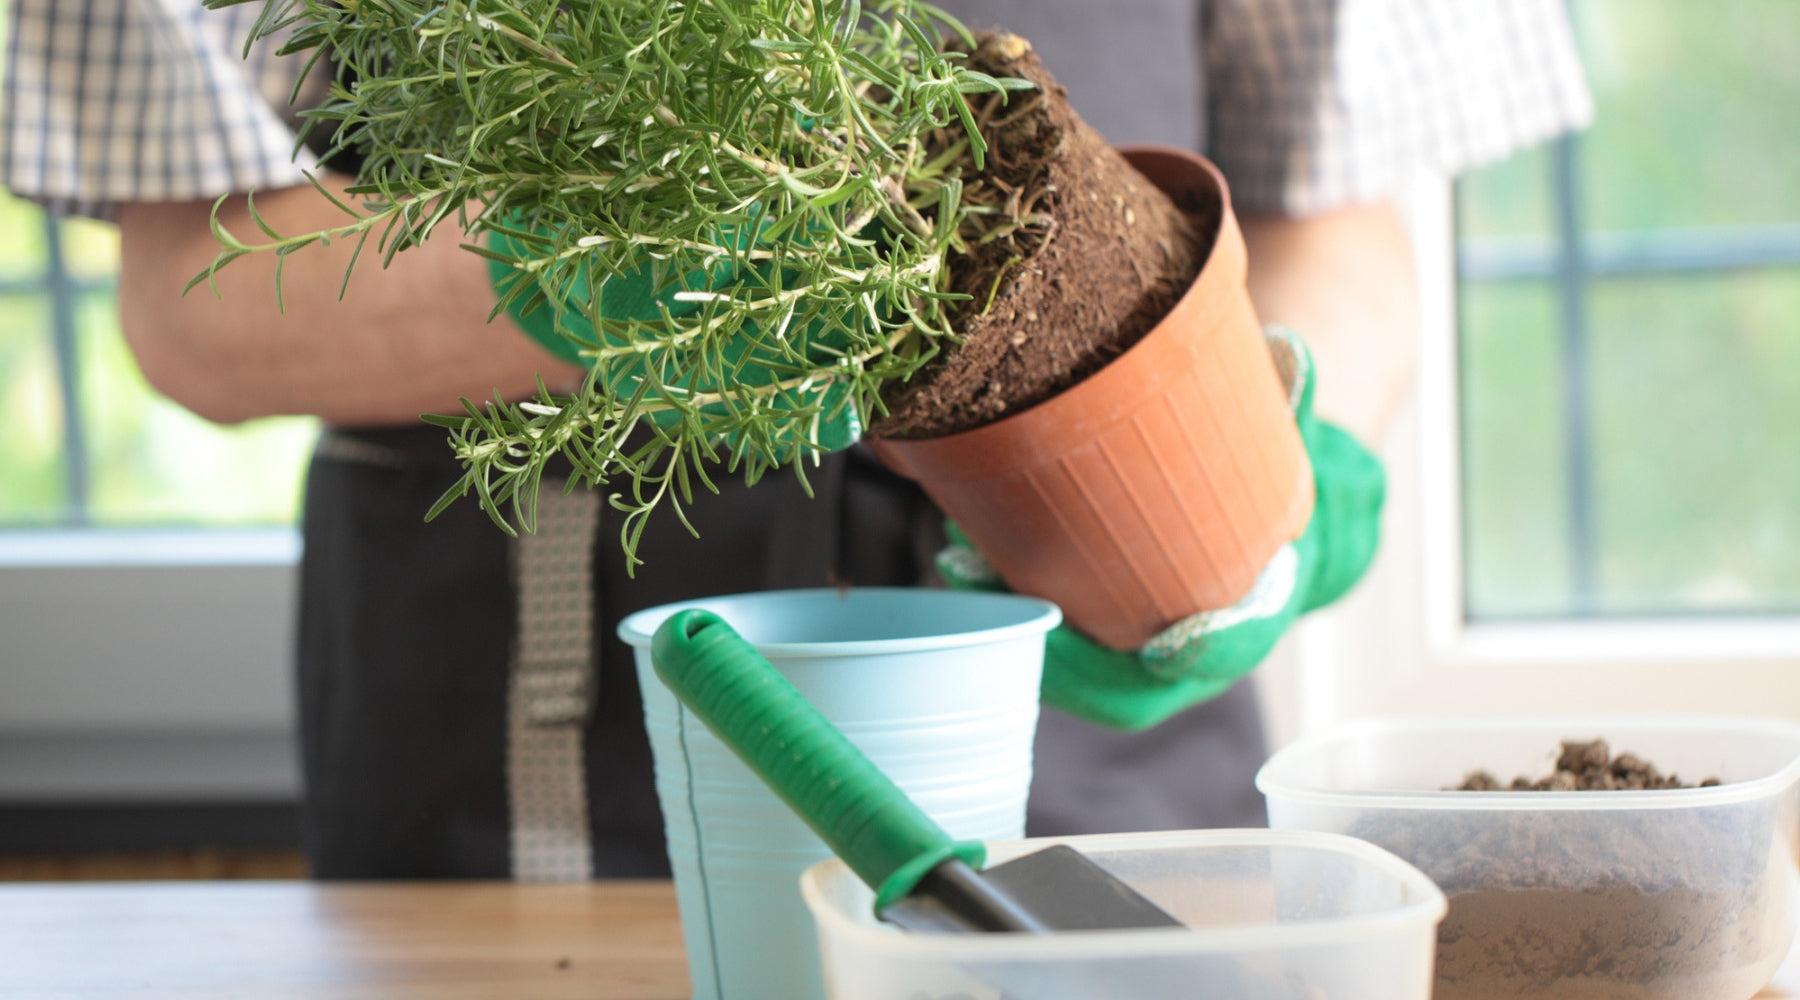
Materials/Supplies needed to start reporting process:
- Tools: Trowel, gloves, scissors, and a clean sharp knife.
- Soil: Choose a high quality soil mix specific to your type of plant.
- New Pot: Choose pots that have drainage holes in the bottom and are no more than 1”- 2” larger in diameter than the current pot. Resist the urge to use a bigger pot, since your plant won’t appreciate the extra room and all the extra soggy soil can suffocate it.
Steps to Repot
- Water your plant thoroughly 1-2 days before you start the repotting process. Hydrating your plant reduces shock and stress to your pant and makes it easier to remove.
- On the day of repotting, remove your plant gently and slowly from the pot, taking care not to yank or break the main stems of the plants. You may have to angle the pot and get extra hands to hold the pot while you remove the plant to get it all out carefully. Try not to pull on the stem – if necessary, you can gently tap the pot on the counter, or use a knife or trowel to loosen the soil around the edges of the pot.
- When moving your plant to a larger pot, begin by inspecting the roots and soil. If the soil is in good shape, try to disturb it as little as possible. If it’s rotten or moldy, shake away some of the excess, but remember that removing soil will stress your plant even more. If the roots are tightly coiled, use your fingers or a sharp knife to loosen or gently slice them so they can spread out, trimming away any really long ends. Cut away any rotten or dead roots.
- If repotting in the same pot, dump remaining soil from the pot, and clean away sediments with hot water. If using a new pot, choose a clean new pot that is no more than 2” in diameter larger than your plant’s old home – too much space slows growth and can lead to root rot.
- Place your plant in the new pot and fill in with soil until all roots are covered and air. Firm soil gently to ensure that there are no air pockets, but take care not to crush delicate roots. Water lightly so that the new soil is moist, but not sopping wet.

What To Do After You Re-pot Your Plant:
After the repotting process, your plant may enter a period of shock. Don’t worry – it’s normal! Plants may appear wilted and thirsty, but take care to refrain from watering until about a week after repotting to ensure that any roots damaged during repotting have healed. During the recovery period, place plants in a cooler, shadier spot. Most potting soil contains fertilizer. To prevent from over-fertilizing and damaging your plant, you can hold off on fertilizing for about 6 weeks after re-potting.